 Home
Home Portfolio
 Blog
Blog Sketchbook
 Workshop
 Contact
Blender 3 is complex but operable
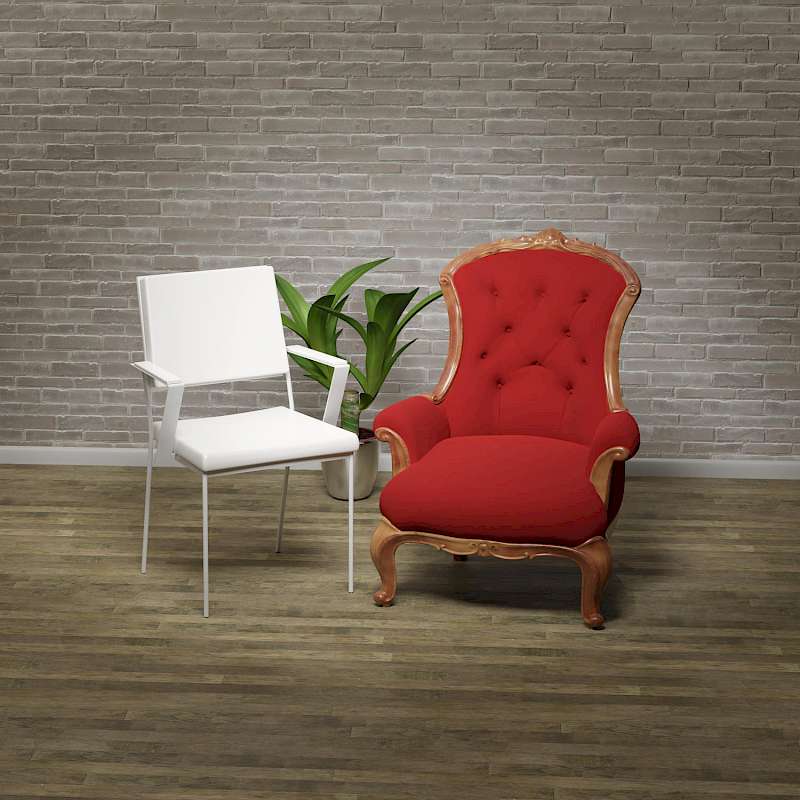 The idea for the picture was to depict two very different chairs, from very different eras, which should then illustrate that there is a typical chair for every era: "Everything has its time". To find an existing picture here seemed difficult and it was. A montage of two chair pictures would have been very time-consuming, since each chair would have to be found in the right perspective and suitable lighting. Actually the right task for an illustration "by hand", if the photographic impression had not been preferred.
I had already seen that there were suitable chairs as 3D models, which only had to be arranged in the right software. So this was the right opportunity to try out whether it is possible to create a passable, photorealistic image with current 3D software.
With Blender 3.3 I had used the most current version of the open source program package at that time. I had tried Blender years ago, but quickly stopped using it in frustration. "Much too complicated and inscrutable" was my impression at that time. But Blender is under continuous development and is said to have become more accessible in usability. So the program was downloaded and installed, which worked without any problems. In order not to simply start again, I first consulted some video tutorials to learn the operation and the concept of Blender.
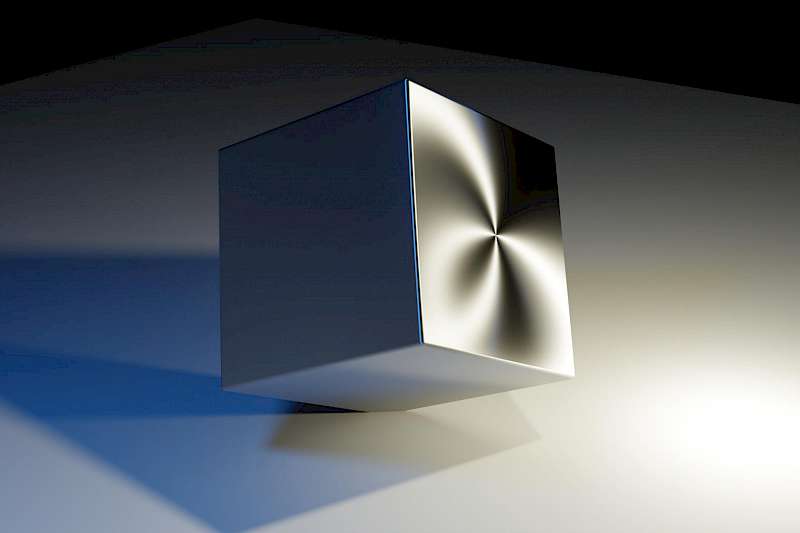 The five-part tutorial from Lichtspieler on youtube was a great help and I can recommend it. Already in the first tutorial you learn in 30 minutes the basic things like how to navigate your ownviewport, how to create, move and modify objects, how to assign a material to the object, how to set the shading, up to the first rendering of the first image (see adjacent image of my first cube). This is motivating when you can admire your first rendering of a cube after a short time. You can't learn a program like Blender with trial and error, so the time spent learning is time well spent and will pay off later.
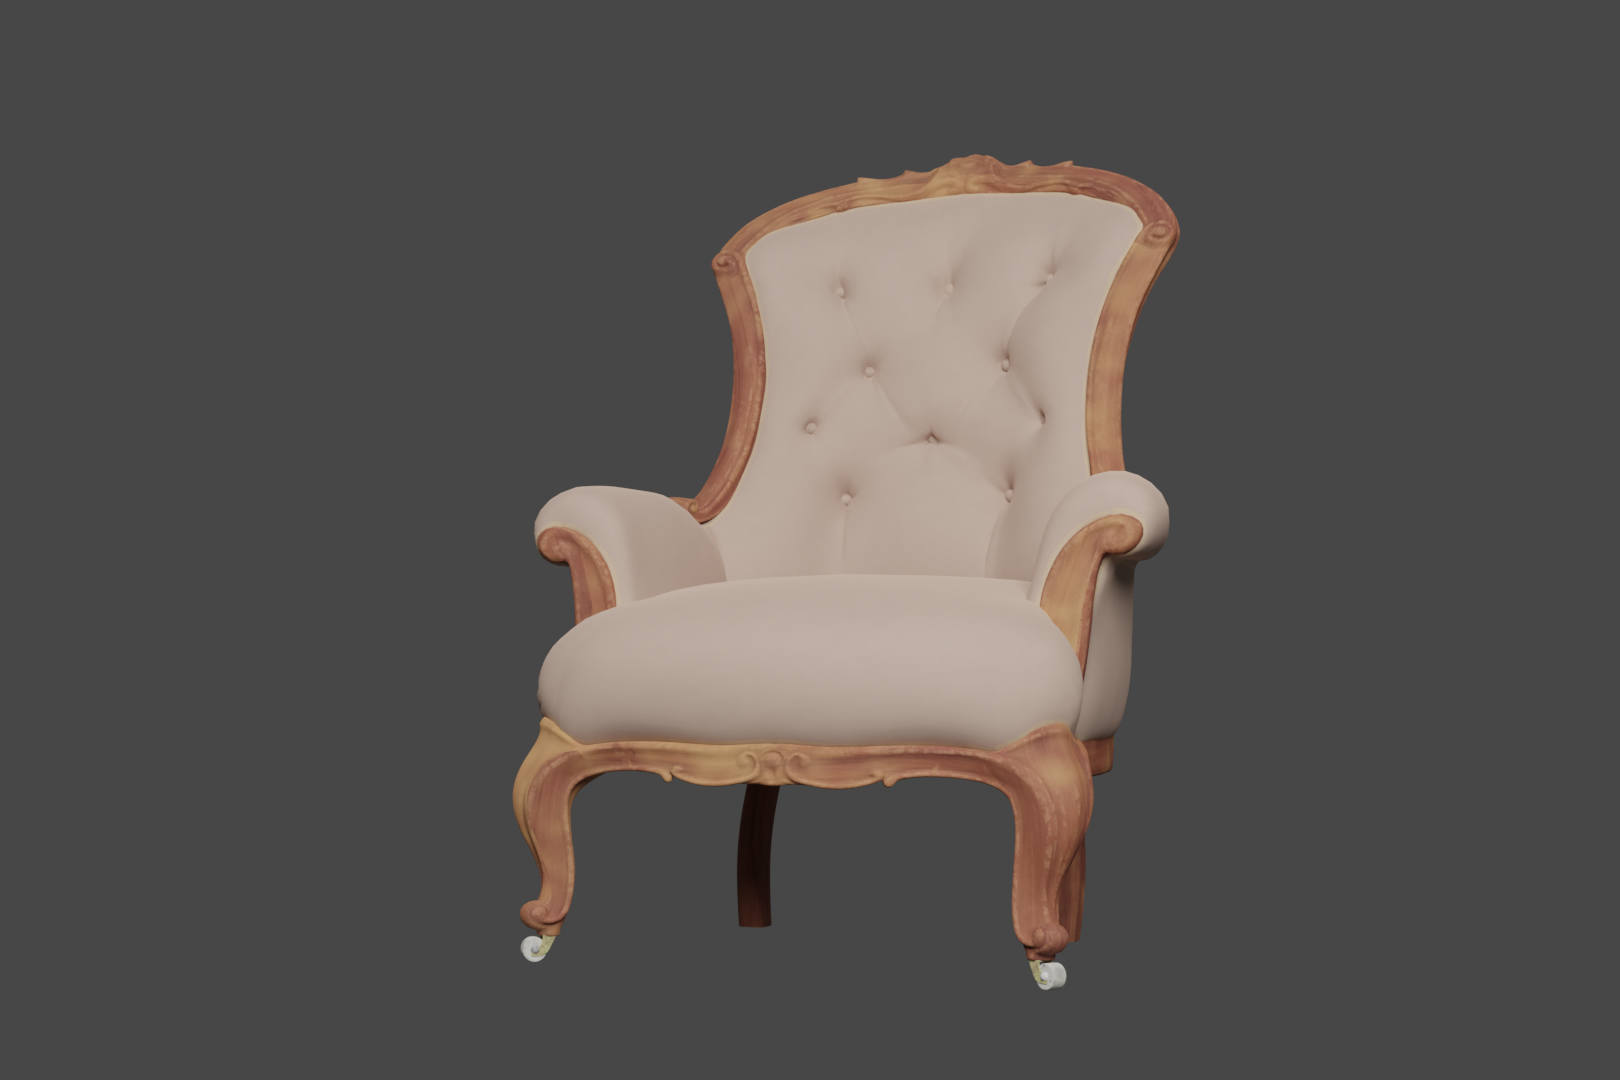
When you can import the first objects and modify them a bit, you only have to take care of the right lighting. Even that is not an easy task. You can use and adjust different kinds of spotlights, you can influence the ambient lighting, and so on. With the different render modes, one is always spoilt for choice between fast image buildup or realistic preview with waiting times. For the final result, 3D chair models were then purchased from Adobe Stock. The old, comfy chair, however, had a somewhat boring beige finish that needed to be replaced with a more eye-catching red. This could perhaps be set in Blender, but it proved possible to recolor and reassign the image file with the surface(Cloth Material Base Color) in an image editor
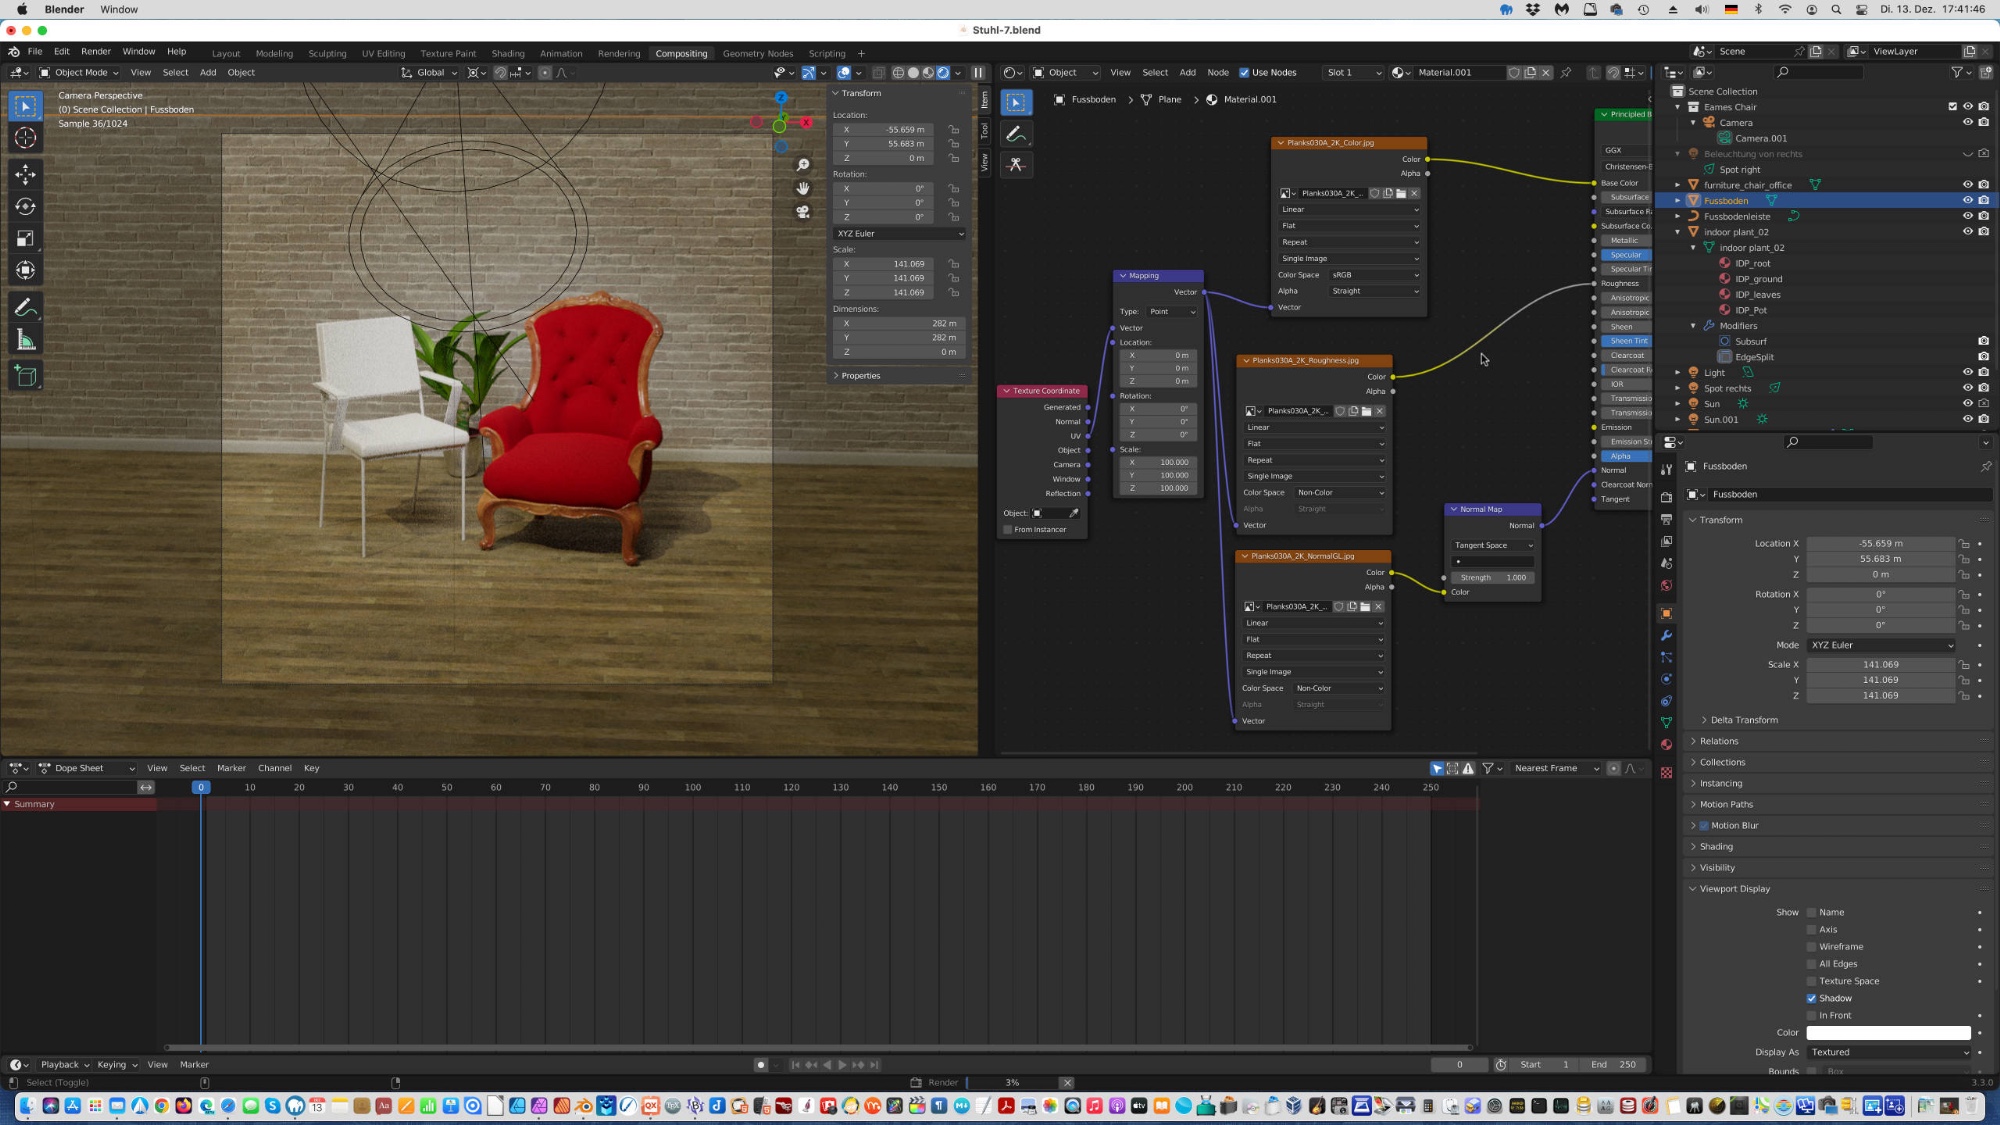
In principle, each object consists not only of the (geometric) surface, it becomes really alive only with the right material for the surface. And that usually consists of several image files that represent different properties: a texture that is projected (mapped) onto the surfaces, the unevenness (Normal), the roughness and the color . And all these properties have to be put in the right connection (in the Shading Editor).
After seven versions and one added plant, the final image version was achieved. The rendering of an image in print resolution (3,000 × 3,000 pixels) took 20 to 30 minutes. So you can understand why 3D image acrobats spend a lot of money on powerful hardware.
Blog-Bildergalerie


Categories: Illustration Digital